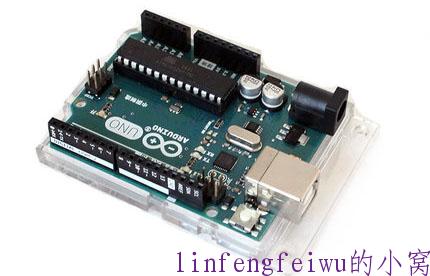
最近忍痛买了一块正版的Arduino UNO,80多块,真的贵,都能买一个NanoPiNEO了。不过正版的做工确实好,性能也稳定。
所以之前买的兼容版就又拿来做点东西啦,这次是一个简单的温湿度计。
硬件:
Arduino UNO一块
DHT11温湿度模块一个
IIC1602显示模块一个
Arduino UNO底板一块
杜邦线若干
连接:
IIC1602:
VCC — VCC
GND — GND
SDA — SDA
SCL — SCL
DHT11:
VCC — VCC
GND — GND
DAT — pin12
照例先检测1602的地址,代码见:https://blog.readgroup.cn/post/52,不再重复了。
DHT11的库自带有,没有的话用这个:https://github.com/adafruit/DHT-sensor-library
基础库:https://github.com/adafruit/Adafruit_Sensor
代码:
//DHT11 Sensor:
#include "DHT.h"
#define DHTPIN 12     // what digital pin we're connected to
#define DHTTYPE DHT11   // DHT 11

DHT dht(DHTPIN, DHTTYPE);


//I2C LCD:
#include <Wire.h> // Comes with Arduino IDE
#include <LiquidCrystal_I2C.h>

// Set the LCD I2C address
LiquidCrystal_I2C lcd(0x27,16,2);


void setup() {
  Serial.begin(9600);
  lcd.begin(16,2);
  Serial.println("Mohamed Chaara Temp and Humidity Sensor Test");

  dht.begin();
}

void loop() {
    // Reading temperature or humidity takes about 250 milliseconds!
  // Sensor readings may also be up to 2 seconds 'old' (its a very slow sensor)
  int h = dht.readHumidity();
  int t = dht.readTemperature();

    // set the cursor to (0,0):
    lcd.init();
    lcd.backlight();
  lcd.setCursor(0, 0);
  // print from 0 to 9:

   lcd.print("Temp: ");
   lcd.print(t);
   lcd.write(0xDF);
   lcd.print("C");

  // set the cursor to (16,1):
  lcd.setCursor(0,1);
  lcd.print("Humidity: ");
  lcd.print(h);
  lcd.print("%");

  Serial.print("Temp: ");
  Serial.print(t);
  Serial.print("C, Humidity: ");
  Serial.print(h);
  Serial.println("%");

}
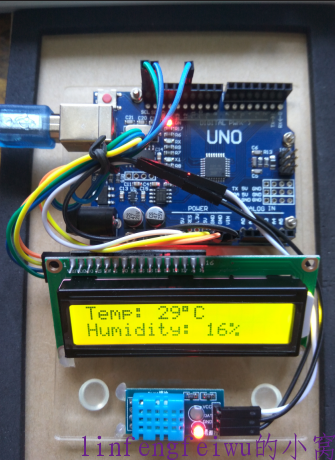
成品图:
参考文章:http://www.instructables.com/id/Arduino-TempHumidity-Sensor-Using-DHT11-and-I2C-LC/


发表评论: